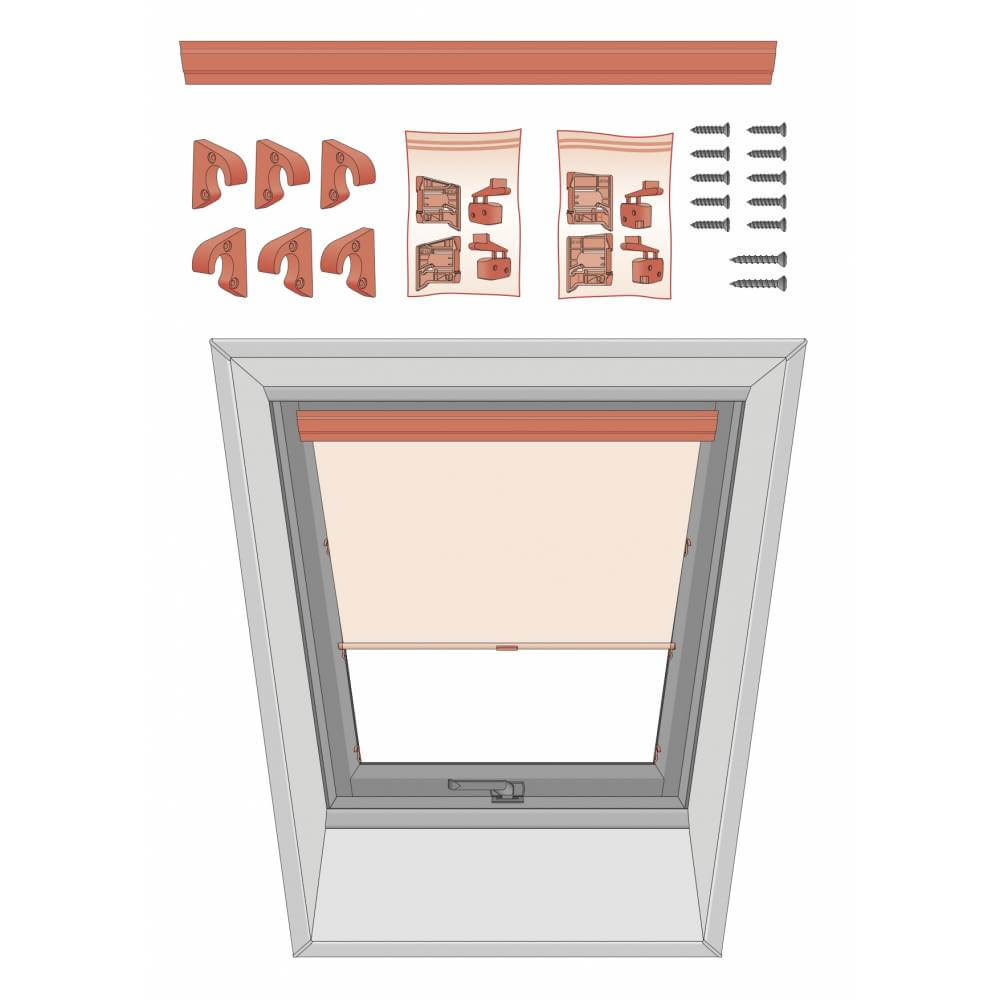
To install the roller blinds on the roof window you will not need any special tools. All you would need is a screwdriver or drill driver.
Please be aware that some windows have metal profiles in the opening sash so you might need to pre-drill tiny pilot holes to put the screws in.
All blinds come with a fixing kit containing installation brackets and screws.
First you have to install the mounting brackets to fit the cassette with a roller blind. Once brackets are fitted the cassette will click into the brackets.
If you are installing the translucent blinds the next step would be installation of the side hooks that will allow for the blinds to be opened in certain positions on the window. That would be the last step and you can enjoy a new addition to your roof window.
If you are installing the blackout blind next step is the side guide installation.
Side guides are left and right hand side mounted. They are marked as left and right. Slide the side guides underneath the roller blind cassette, run the cord down the guides and secure the side guides with screws provided. Please do that carefully and avoid the cord otherwise it will snap if caught with screws.
Insert the cord clips into the bottom side guide bracket.
Check the tension on the cords, sometimes it might need some adjustments. Once all it’s done, test the roller blind if it’s working properly
