Table of Contents
Adding roof windows to your exterior is one of the most efficient and aesthetically pleasing solutions when it comes to letting more natural light into the interior. Apart from making your home a more comfortable and cozier place to live in, it will also help you cut your energy bills and improve your environmental impact.
So, once you’ve ordered roof windows according to your needs and requirements – there are plenty of types and sizes of rooflights to choose from, including both fixed and openable roof windows – you will have to take care of the installation process.
Below, you will find a guide that consists of general guidelines applied to installing any type of roof windows. However, we strongly advise first to consider hiring a reliable and experienced professional installer to do the job for you.

Required Tools
- work gloves,
- safety goggles and head protection,
- tape measure,
- level,
- hammer,
- pencil,
- measuring square,
- angle grinder,
- panel saw,
- pincers,
- craft knife,
- screwdriver,
- drill,
- full instructions for your window.
Roof Windows Installation Step by Step
Step 1: Unbox a New Roof Window
Your rooflight will be delivered to your site in a secured box and will require unboxing. First, you will have to check the box and ensure it’s not damaged or torn before you open it. If there are any signs of breakage, you should inform the delivery driver right away.
Next, you will need to ensure that all of the parts of the window are present and in a good condition. These include:
- window frame,
- window sash,
- insulation collar,
- flashing kit,
- installation brackets,
- screws,
- top covering.
To ensure you have everything for the installation, check the instructions and lay all parts out so you can see them. It’s also recommended to carefully remove the window sash (glazing) from the frame and find a secure place to store it where it won’t be damaged.
Step 2: Prepare the Window for Installation
Once the roof window is unpacked and its most vulnerable parts stored carefully, you can start preparing it for installation. Here are a few simple steps:
- Measure and drill in the metal brackets.
- Wipe down the window frame to remove any dust and debris from drilling.
- Peel off the sticky back of the insulation foam collar and adhere it to the wooden frame. Make sure it’s properly positioned around the frame.
Keeping the inner window separated from the frame will make this process easier to manage.
Step 3: Prepare the Roof for Installation
Now, it’s time to ensure that your roof is adequately prepared for a new window. Here’s what your need to do:
- Measure your loft floor to find the correct position for your new roof window.
- Mark the rafters for the roof opening and note the window’s centre position, leaving a minimum of 15cm to the left and right. Use a square to mark the top and bottom, ensuring it is at a 90-degree position.
- Remove the area of boarding to expose the roof material and remove the roof tiles.
- Cut the battens on the exposed area close to the side of the rafters. Make sure to leave enough roof space for the window flashing. Roof timbers can expand in warm weather, so you’ll need to calculate for that as well.
- Place the bottom and then top trimmers and secure them using nails.
- Use a level throughout the entire process to ensure all surfaces are flush and the window opening is square.
Depending on the type of window, you might need to install a timber support frame (which the window will be screwed onto). If that’s the case, you should check with the instruction manual for the correct position of these support frame battens.
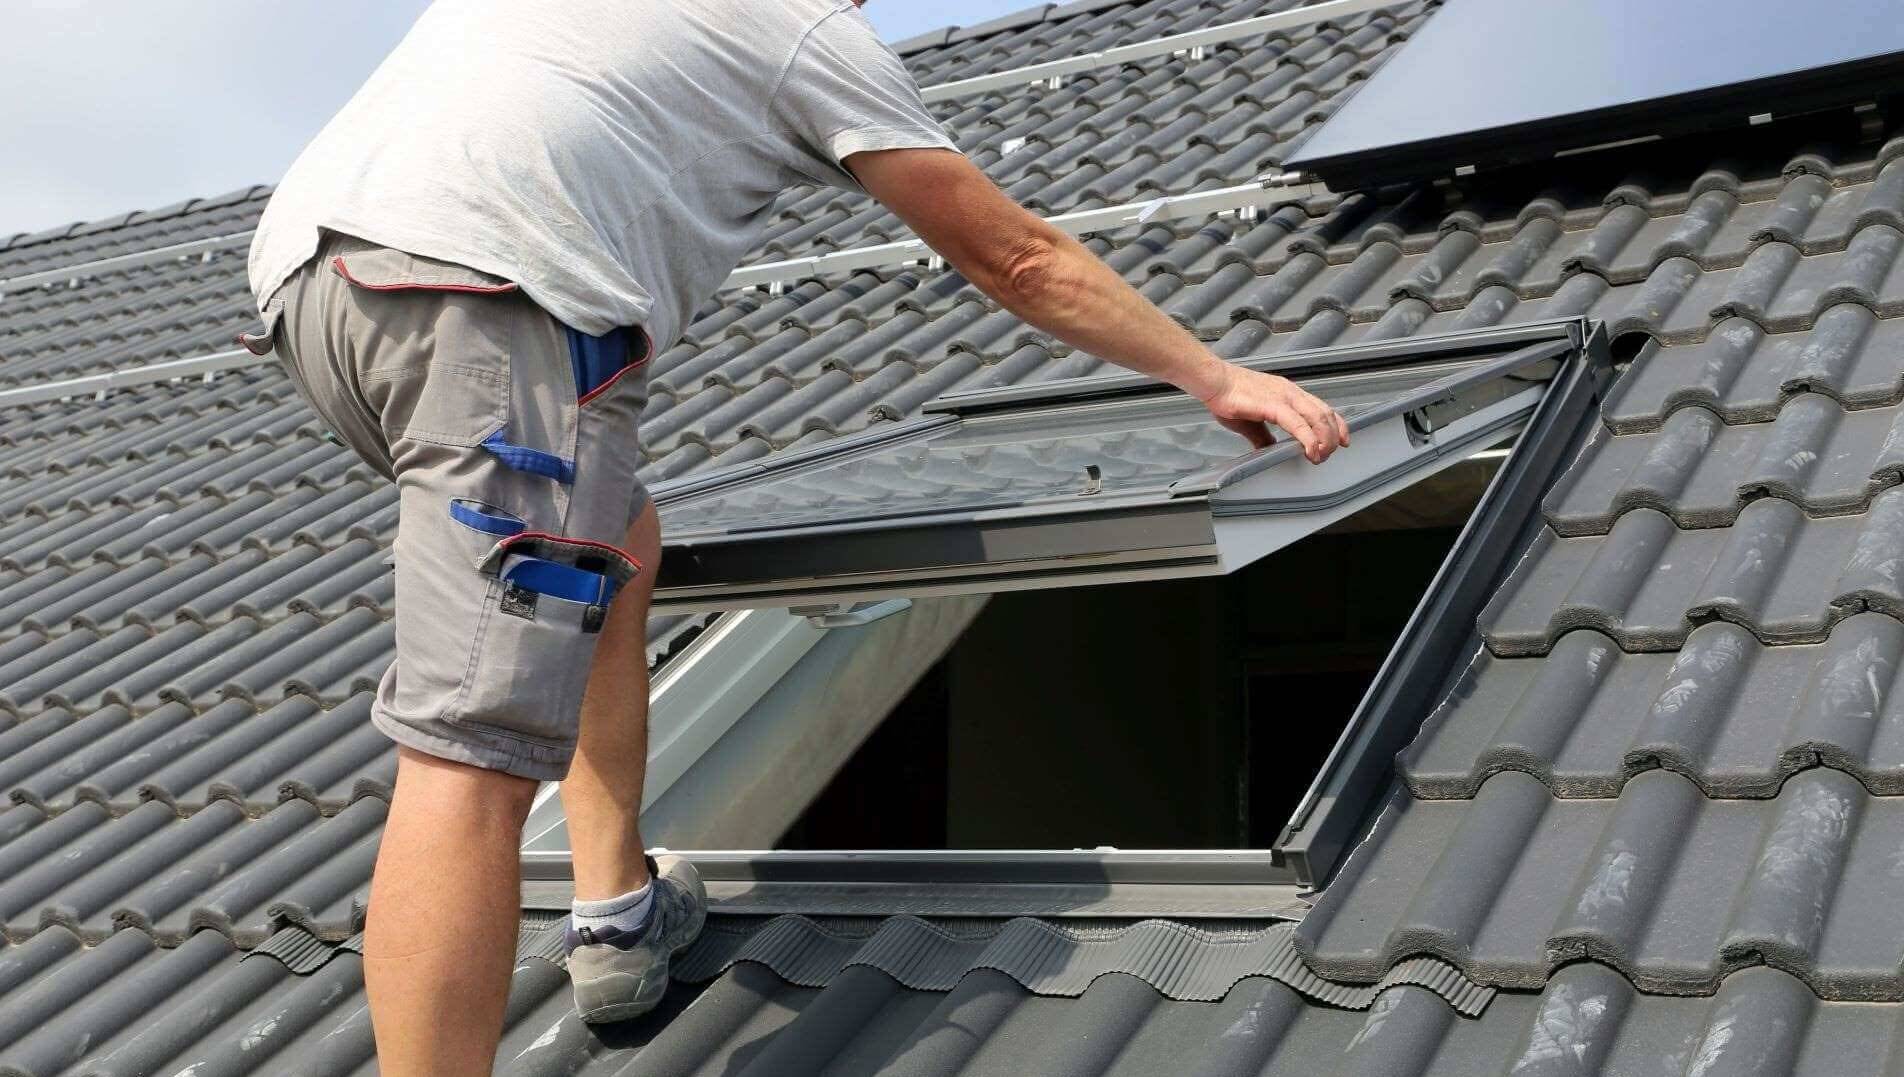
Step 4: Install the Window
Once both the window and the roof are prepared, the installation process should go smoothly. With measurements already made, your new window should fit securely into the roof opening.
- Assemble and install insulation collar.
- Slot the window frame into the insulation collar and secure it by screwing in the fixtures at the top and bottom.
- Install the window sash into the frame to check if the installation is square and level. In case it’s not, you may use a packing piece to even up the gap.
- Check if the window is fitted correctly from the inside. There should be the right gaps between the frame and roof for the flashing.
- Remove the inner window again to install the flashing.
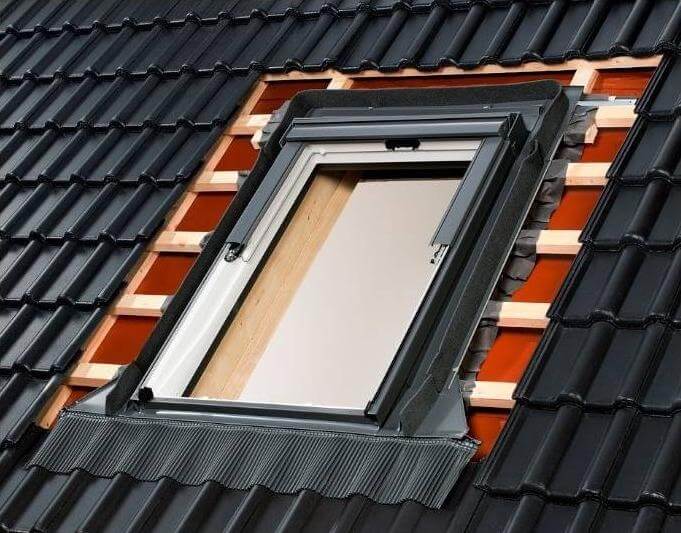
Step 5: Install the Flashing
Flashing is an essential element for ensuring that the new window installation will be waterproof, excluding possible leaks now and in the years ahead.
- Install a breathable underfelt foil collar for extra protection against leaks forming around the rooflight.
- Fix the drainage channel into the place to guide water away from the window to prevent leaks.
- Fit the flashing starting at the bottom, then the sides, and finally the top, so it fits snugly against the window and overlaps with the existing roof tiles. Secure the parts into place and nail all the flashing into the roof beams.
- Bend the corners of the bottom element upwards so that they slightly overlap the side elements.
- Trim the foam insulation.
Step: 6: Complete the Roof
Now that the window frame, underfelt collar, and flashing are installed, the process is almost completed. However, there is one last thing to be done – fix the remainder roof tiles or slates around the window.
- Measure the gaps and cut your tiles accordingly, leaving 30-60mm between the flashing’s inner edge and the roof tile.
- Refit the window sash.
- Check the rooflight for a smooth opening and closing action.
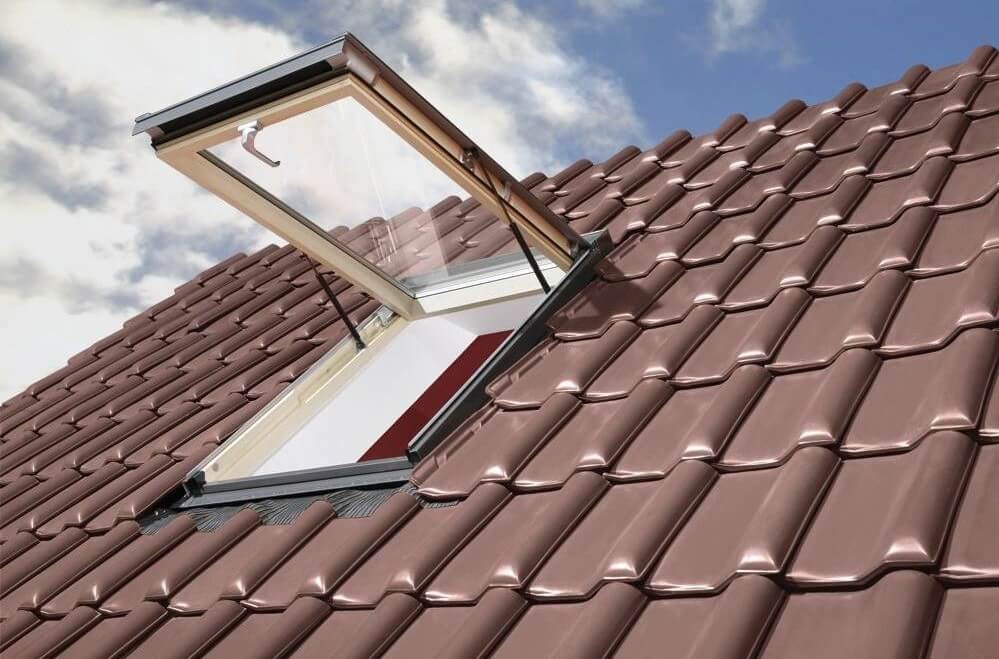
Your roof window is now installed!
FAQ
Below, you will find answers to the most critical questions regarding the rooflight installation process.
What do you need to know before installing a roof window?
Before you install a roof window, there are a few things you need to know and consider, such as:
- Type of roof window. There are many different types of roof windows available on the market, so you need to make sure you choose the right one for your needs.
- Size of the roof window. You need to make sure that the window you choose is the right size for the space you have available.
- Roof type you have. Different types of roofs will require different installation methods, so you need to make sure you know what type of roof you have before you start the installation process.
- Roof pitch. The installation process for a pitched roof will differ from that of a flat roof.
How are flat roof windows installed?
The installation process for a flat roof window will be slightly different, as such windows are installed in roof pitches between 5-15°.
In a new roof, carpenters will form an opening during the carcassing process. You will also need to build a timber upstand to fit your skylight.
Do I need permission to put a window on my roof?
You will need planning permission for rooflights if your property is a listed building or in a conservation area. In all other cases, you will not need permission as long as the proposed rooflights meet the following criteria:
- The rooflights are not more than 150mm above the plane of the roof.
- The cumulative area of the rooflights does not exceed 40% of the roof area.
It’s also a good practice to check with the building control department of your local council for more information on building regulations in your area.
Can I install a roof window myself?
Technically, yes. You can install roof windows yourself – or rather with a friend’s help when dealing with larger windows.
However, as you can see, the work requires a lot of specific tools, time, and preparation. If your budget allows for installation costs, it would definitely be a safer option to hire an experienced professional installer.
How much does it cost to put skylights on a roof?
Professionals charge around £150 per day on average to install a skylight. However, depending on the type of window, the average cost for a relatively simple roof skylight replacement could range between £500 and £800.
How long does it take to install a skylight?
From half a day to three days.
In case you’re installing only the window and flashing, a professional will most likely manage to finish all the work in about an hour and a half. But if you also need to cut the hole and do the internal finishing work, you might spend from half a day up to three days completing the installation.
Remember to check the weather forecast and plan your installation on a dry day; otherwise, you might end up with moisture trapped within the insulation.
Do skylights increase home value?
The general answer would be yes, although it’s difficult to determine how much value skylights add – it greatly depends on the market and the target buyer.
Instead of relying solely on a monetary value, it would be best to focus on the benefits an increased amount of natural daylight will bring to a homeowner’s life.