Table of Contents
Flashing kits
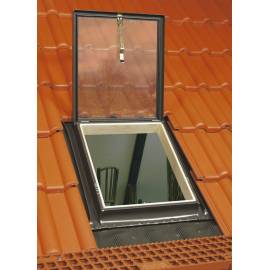
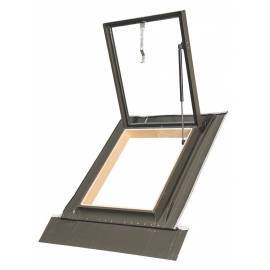
All these types of skylights ( Fenstro, Velux VLT, Optilook, Fakro WGI ) come with an integrated flashing kit and no other fitting accessories are needed for installation. They are ready for fitting straight out the box.
These roof lights are available with only one type of the flashing kit – TILE, as this type of flashing kit is the most universal and it will allow installation on various roofing materials.
Skylights installation hints
Despite the fact that these roof lights are simply built and ready to fit straight away we would recommend installation by the professionals.
However, if you decide to install it yourself we would advise to take a look at the fitting manual for each of the skylights which can be found on the product page in the Download section.
Below you can also find the installation videos showing how to fit such skylights on two of the most popular roofing materials – tiles or slates (video is for illustration purpose only).
Video – Fenstro & Velux Velta Skylights Installation on Tile Roof
Video – FENSTRO, VELTA Installation on Slate Roof
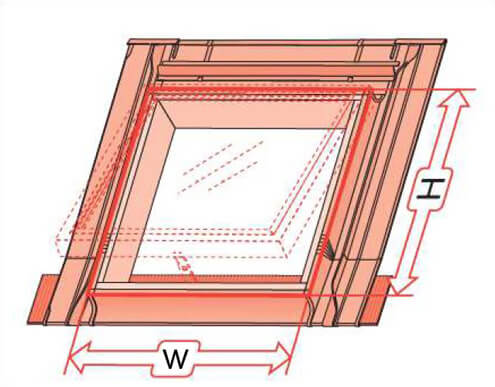
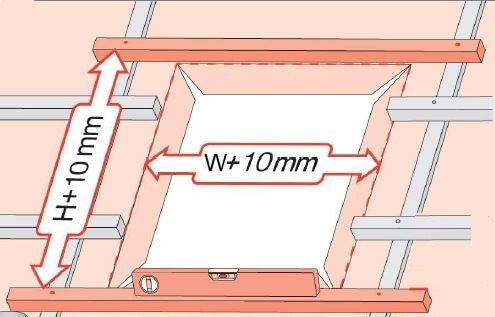
First and foremost you would need to measure the spaces where you want to install this skylight to make sure it will fit. Dimensions advertised are for the frame size, not the opening size and they are W x H ( width by height )
The opening for installation would have to be larger than the overall size of the window. Depending on the skylight you would need to add from 10mm ( 1cm) to 20mm (2cm ) to the width and height (this information can be found in a fitting manual).
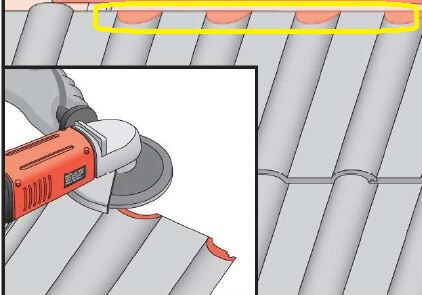
Make sure that the first row of roof tiles below the roof light was grinded at 45 degrees angle so the bottom apron will drain the rain water and the water will not be pooling on the apron.
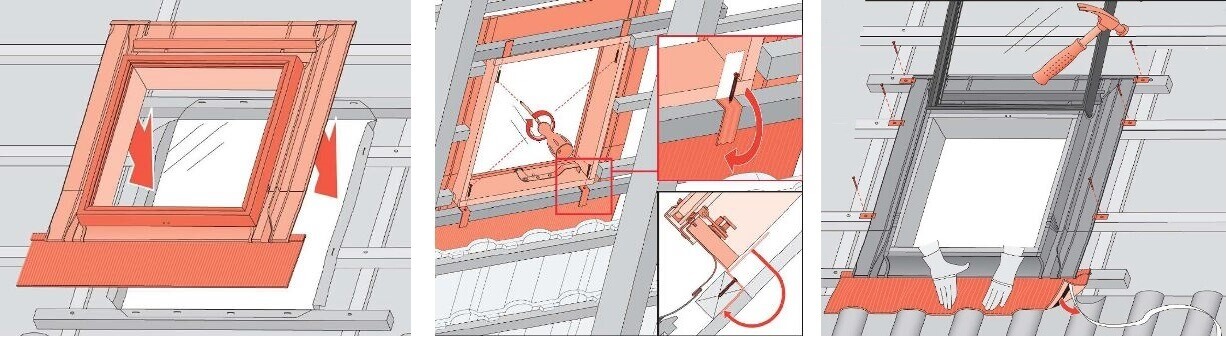
Finally insert the skylight into the opening and secure the brackets and flashing kit with counter battens
Other products in category: Skylights
£91.67 tax excl.
Other products in category: Fakro
£112.50 tax excl.